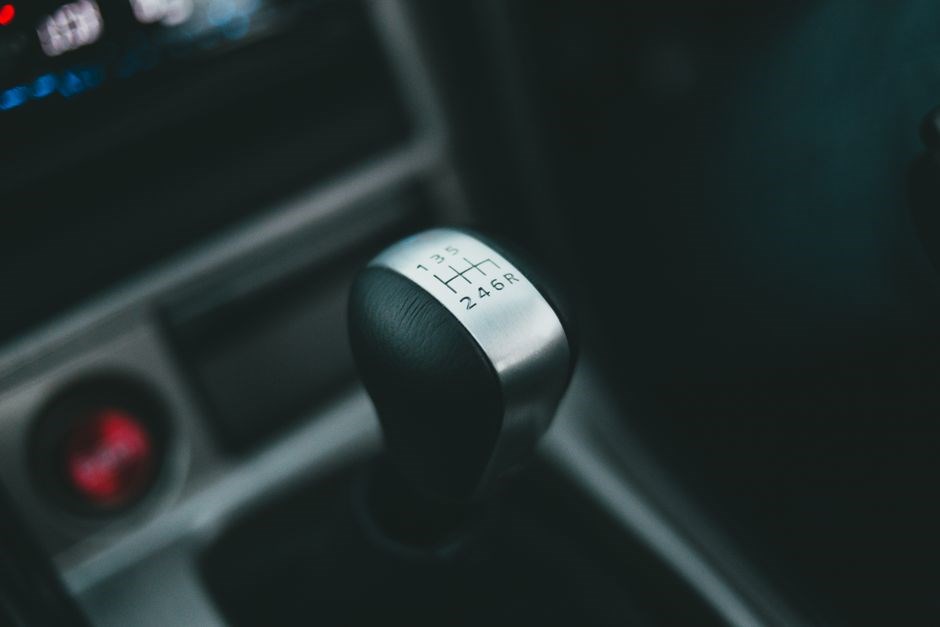
Converting a manual car to an automatic gearbox is feasible but complex. It requires swapping the clutch, installing an automatic transmission unit, and re‑engineering the drivetrain. Costs vary, often high, and reliability depends on proper integration of the electronic control system. Skilled labor needed..
1.1 Definition and Purpose
Manual to automatic gearbox conversion refers to the process of replacing a vehicle’s manual transmission system with an automatic one, thereby eliminating the clutch pedal and manual gear selection. The primary purpose is to enhance driving comfort, reduce driver fatigue, and increase vehicle accessibility for individuals with limited physical ability or those who prefer a more relaxed driving experience. Additionally, conversions can be motivated by mechanical issues such as a worn clutch or by a desire to upgrade performance characteristics. The procedure typically involves removing the manual gearbox, installing a compatible automatic unit, re‑routing driveshafts, and integrating electronic control modules to manage shift logic and torque converter operation. Successful conversions demand careful matching of engine torque curves, transmission input shaft dimensions, and vehicle weight distribution to maintain drivability and safety. When executed correctly, the vehicle can retain its original power output while offering smoother acceleration and improved fuel efficiency in certain driving conditions.
The conversion process also requires matching the engine’s output shaft to the automatic transmission’s input shaft, often using custom adapters. The vehicle’s ECU must be reprogrammed or replaced to handle the new shift logic and torque converter. Drivers benefit from a hands‑free operation that reduces clutch wear and improves comfort in traffic. Additionally, the conversion can extend lifespan by eliminating clutch wear.
Technical Feasibility
Converting a manual to an automatic gearbox is feasible but demands precise matching of engine torque, transmission input, and electronic controls. Key challenges are clutch removal, drivetrain alignment,and ECU reprogramming. Successful swaps rely on compatible partsandskilled labor.
2.1 Engine-Transmission Compatibility
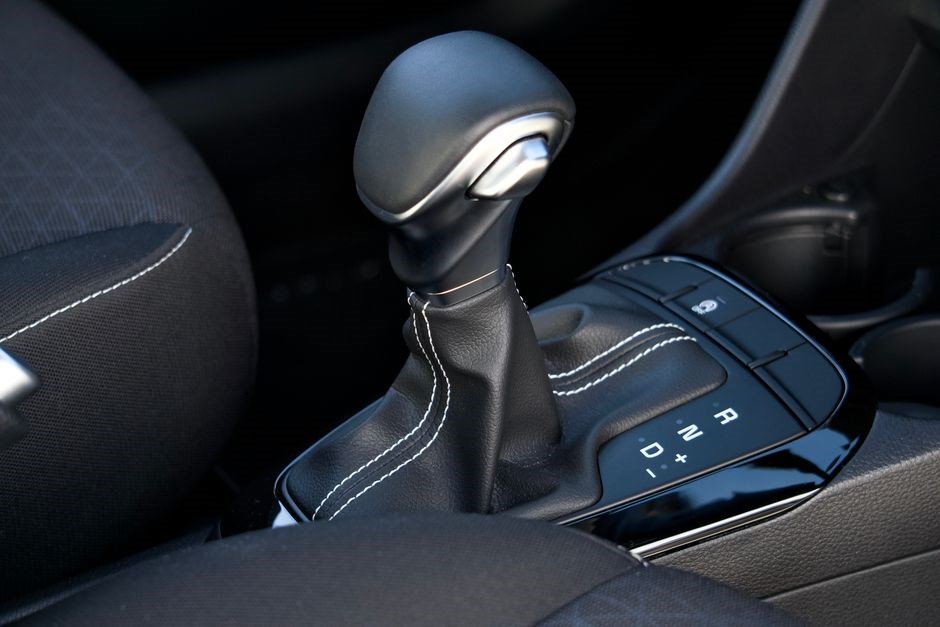
When converting a manual vehicle to an automatic gearbox, the first technical hurdle is ensuring that the engine’s torque curve and power output align with the automatic transmission’s input shaft specifications. Most modern automatics are designed for engines with a specific red‑line rpm and peak torque range; a mismatch can lead to premature wear or failure. The clutchless operation of an automatic means the engine must deliver smooth torque without the mechanical engagement that a clutch provides. Therefore, the chosen automatic unit must have an input shaft diameter and spline count that match the engine’s flywheel or flexplate mounting interface. In many cases, the flywheel must be replaced with a flexplate that has the correct bolt pattern and thickness to accommodate the automatic’s torque converter. Additionally, the engine’s crankshaft bearing load capacity must be sufficient for the torque converter’s torque multiplication, which can be up to 1.5 times the engine’s peak torque. Engineers often perform a torque analysis using the engine’s peak torque (Tpeak) and the converter’s torque multiplication factor (TMF) to ensure the crankshaft can handle Tpeak × TMF without exceeding allowable stress. For example, a 200 hp engine producing 200 lb‑ft of torque paired with a 1.4× converter would require the crankshaft to support 280 lb‑ft of torque. If the existing crankshaft is rated for only 250 lb‑ft, a stronger crank or a lower‑ratio converter is needed. Another critical factor is the engine’s idle speed. Automatic transmissions typically idle around 800–900 rpm, whereas manual engines may idle at 600–700 rpm. The engine control unit (ECU) must be reprogrammed or replaced to maintain proper idle torque and to prevent stalling when the vehicle is in gear. Finally, the engine’s cooling system must be capable of handling the continuous load of an automatic transmission, especially under high‑temperature operating conditions. Failing to address any of these compatibility aspects can result in drivetrain failure, reduced fuel efficiency, or even catastrophic engine damage.
2.2 Drivetrain and Mounting Constraints
Converting a manual drivetrain to accommodate an automatic gearbox introduces a series of spatial and structural challenges. The most immediate constraint is the physical size of the automatic transmission; many units are longer and heavier than their manual counterparts, requiring re‑engineering of the engine bay. The mounting brackets that hold the manual transmission are often not compatible with the automatic’s flange geometry, necessitating custom brackets or the use of aftermarket adapters. These adapters must align the torque converter’s input shaft with the engine’s flexplate while maintaining the correct centerline to avoid misalignment of the driveshaft. Misalignment can cause vibration, bearing wear, or even catastrophic failure of the driveshaft or differential. Additionally, the automatic’s torque converter adds a front mass that shifts the vehicle’s center of gravity forward; suspension components such as the front sway bar, strut tower, and steering rack may need reinforcement or repositioning to preserve handling characteristics. The driveshaft length is also affected; an automatic’s longer input shaft often requires a longer driveshaft, which may exceed the available space between the transmission and the differential. In such cases, a shorter differential or a custom driveshaft with a different offset is required. The differential itself must be compatible with the automatic’s output shaft. Many automatics use a different spline count and diameter, so a new differential or an adapter plate is often necessary. Finally, the rear axle’s mounting points and the vehicle’s frame must support the increased torque output of an automatic transmission; This may involve upgrading the rear axle housing, reinforcing the frame rails, or installing a stronger differential gear set. All these modifications must be coordinated with the vehicle’s electronic control system to ensure proper shift timing, torque converter lock‑up, and safety features such as ABS and traction control. Ensuring proper alignment is crucial.
Required Components and Modifications
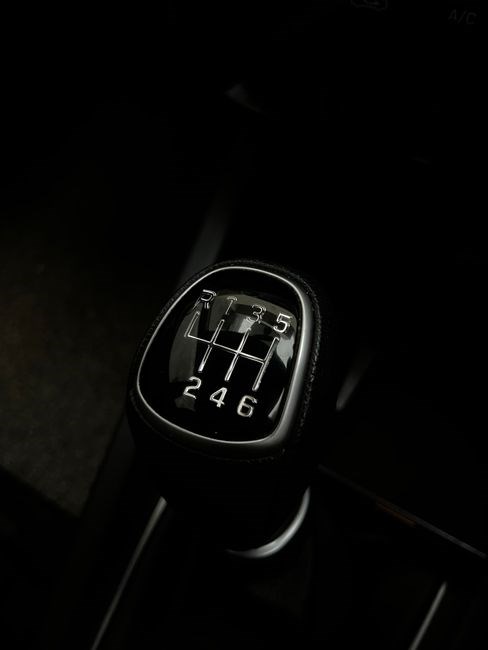
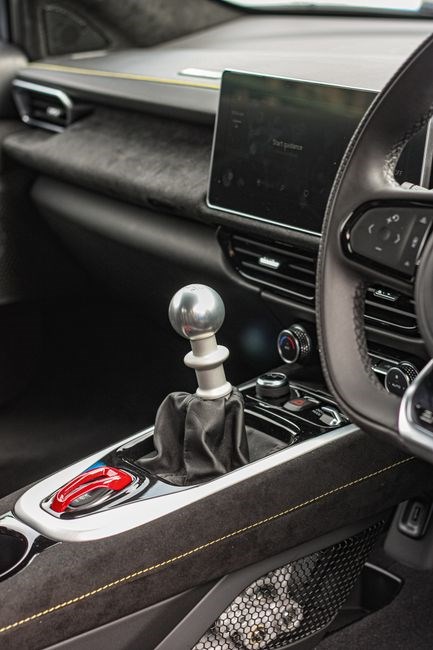
Key parts include an automatic unit, torque converter, ECU or aftermarket controller, and a new clutch assembly removed. Custom brackets, longer driveshaft, differential adapter, and updated wiring harnesses are essential. Components must match the vehicle’s powertrain and electronics for properly safe operation?!
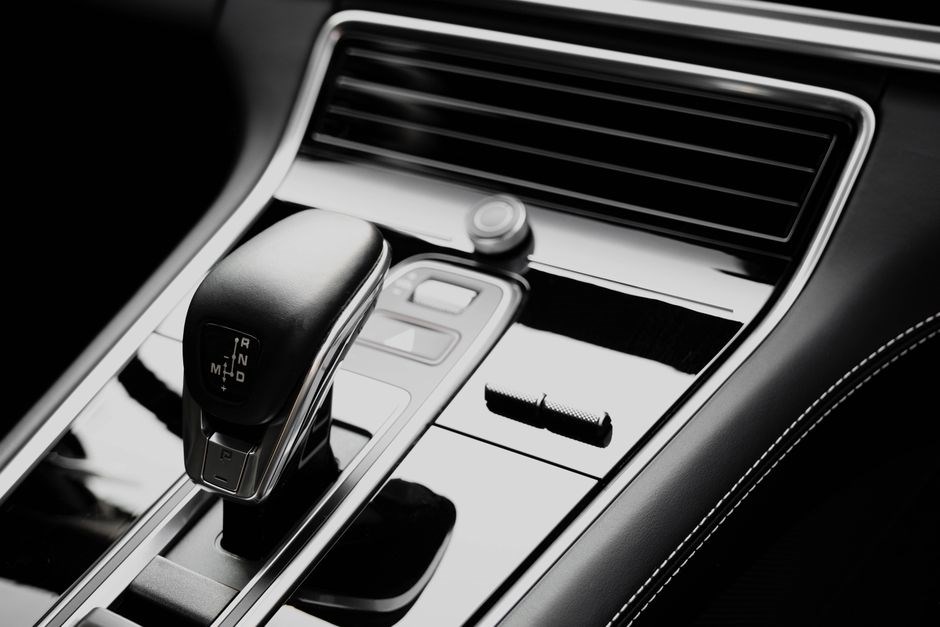
3.1 Automatic Transmission Unit
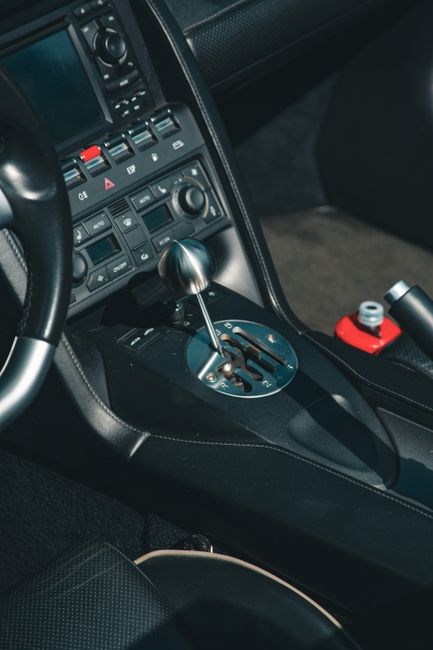
An automatic transmission unit (ATU) is the heart of any manual‑to‑automatic conversion. It replaces the clutch, gearbox, and associated linkages, and it must be matched to the engine’s torque curve, red‑line RPM, and the vehicle’s weight and drivetrain layout. Most conversions use a donor ATU from the same model year or a modern 4‑ or 6‑speed automatic that offers improved shift quality and fuel efficiency. The ATU contains a torque converter, planetary gearsets, hydraulic control valves, and an integrated electronic control unit (ECU). The torque converter’s size and lock‑up ratio must be chosen to avoid over‑revving the engine or under‑torquing the rear wheels. A new driveshaft is required to match the ATU’s output shaft diameter, and a differential adapter may be needed if the original differential cannot accept the new gear ratios. The hydraulic system requires a dedicated pump and cooler; many conversions use a shared oil pan with a custom gasket or a separate pan. Wiring harnesses must be re‑wired to provide throttle position, engine speed, and vehicle speed inputs to the ECU, and the ECU may need a re‑flash or an aftermarket module that can interpret the ATU’s shift logic. Finally, the suspension geometry and brake bias may need adjustment to accommodate the altered weight transfer during automatic shifting, ensuring that handling remains safe and predictable. An upgraded radiator or fan may be needed to dissipate the extra heat from the automatic’s hydraulic pump. A custom mounting bracket secures the ATU, and a bell‑housing adapter aligns the input shaft with the crankshaft and..
3.2 Clutch System Removal
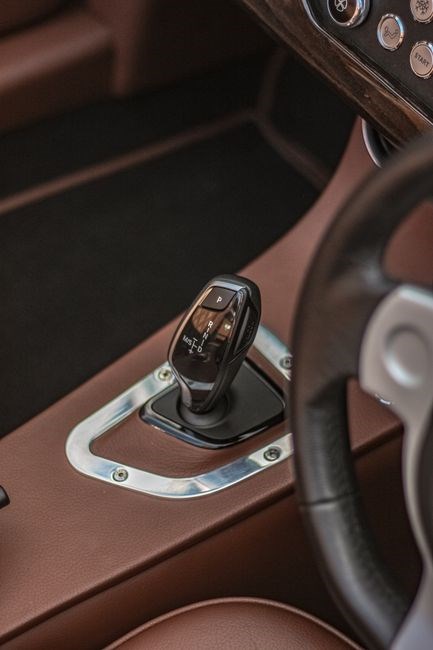
Removing the clutch is the first tangible step in a manual to automatic conversion. The clutch assembly—pressure plate, release bearing, throw‑out bearing, flywheel—must be detached from the engine crankshaft. First, disconnect the clutch pedal and its hydraulic line, then drain the master cylinder. Next, remove the clutch fork or cable so the pressure plate can be lifted. Unscrew the flywheel from the crankshaft with a flywheel puller or torque wrench, taking care not to damage the crank. Extract the clutch disc and release bearing, then inspect the entire assembly for wear and replace damaged parts. Clean the flywheel surface and check for scoring or cracks; if it is sound, it can be reused, otherwise install a new flywheel kit compatible with the chosen automatic transmission. Prepare the engine block for the new transmission mount by machining a bell‑housing flange that matches the automatic input shaft. Bolt the flange to the engine block with bolts, and fabricate a mounting bracket to secure the automatic unit; After installing the new bell‑housing, remove the clutch pedal assembly entirely and seal the pedal well to prevent debris ingress. Re‑connect the hydraulic system to the new transmission’s throttle and shift controls, and bleed the drivetrain of air to ensure smooth operation. Proper removal of the clutch frees the drivetrain for the new automatic unit and eliminates the risk of cross‑contamination between the manual clutch hydraulics and the automatic hydraulic system, ensuring a clean, reliable conversion. The process also involves verifying that the crankshaft journal remains within tolerance, and minor wear can be corrected with a crankshaft repair kit before proceeding ensure
3.3 Electronic Control Integration
Integrating the vehicle’s electronic control system is essential when converting a manual gearbox to an automatic unit. The engine control unit (ECU) must be re‑programmed or replaced to recognize the new transmission’s shift map, torque‑converter lock‑up logic, and gear‑ratio data. Most modern cars use a transmission control module (TCM) that communicates via CAN bus; the TCM must match the chosen automatic gearbox and be wired to the ECU. A common solution is to source a donor TCM from a compatible model and upload the firmware with a diagnostic interface. If a donor TCM is unavailable, a standalone electronic shift controller can be installed, but this requires mapping the throttle position sensor, wheel‑speed sensors, and engine‑speed sensor to the new unit. The brake and clutch pedal inputs are re‑mapped: the clutch pedal is removed, so the brake pedal input must be reassigned to the TCM to trigger down‑shifts during braking. Wiring harnesses must be rewired to accommodate the new sensors and actuators, including the torque‑converter solenoid, shift solenoids, and the engine‑coolant‑temperature sensor. The ECU’s idle control module must be tuned to the new idle speed set by the automatic transmission’s idle control valve. After all connections are made, a diagnostic scan tool verifies communication between the ECU, TCM, and all sensors. The system is then calibrated by running a series of test drives, adjusting shift points, and fine‑tuning the engine torque map to match the new gear ratios. During the calibration phase, a specialized diagnostic tool such as the manufacturer’s service software or a third‑party OBD‑II interface is used to read live data streams, allowing fine‑tuning of shift points and torque‑converter engagement for optimal performance and emissions compliance. A final safety check confirms that all electronic interfaces are secure and that the vehicle’s fault‑code system is cleared before road use. Finally, the vehicle’s software is updated to include the new transmission data, ensuring that the engine’s fuel injection, ignition timing, and emission controls remain within regulatory limits. Proper electronic integration guarantees that the vehicle operates safely, efficiently, and reliably after the conversion.
Cost, Reliability, and Legal Aspects
Conversion costs vary: transmission ($2,000–$5,000), electronics ($500–$1,500), labor ($1,000–$2,000). Reliability hinges on quality parts and proper tuning; failures can arise if ECU/TCM mismatched. Legally, the vehicle must pass emissions and safety inspections, and registration paperwork updated—✔!✓?!
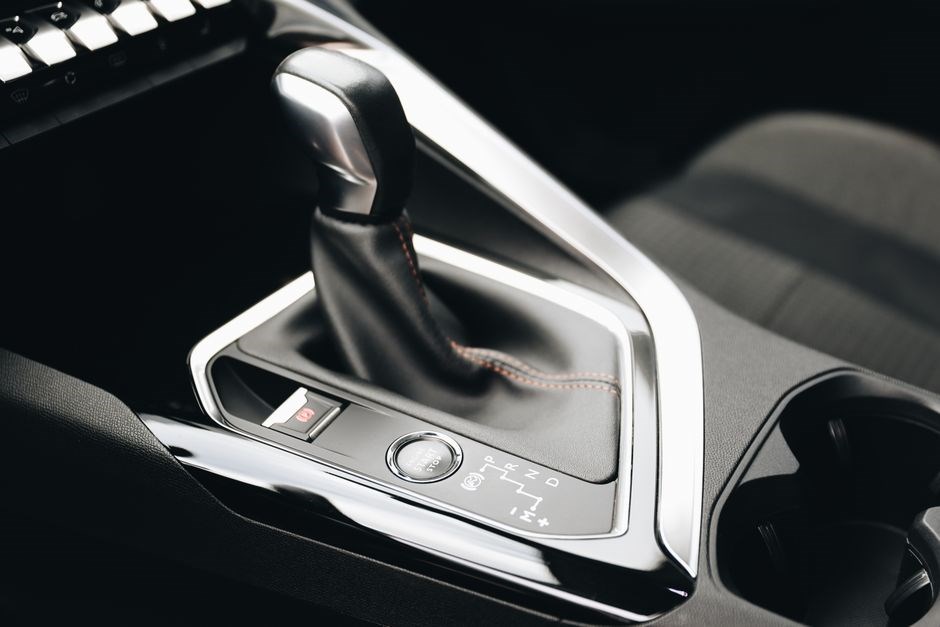
4.1 Cost Breakdown
Below is an itemized cost estimate for converting a mid‑size manual car to an automatic gearbox. Prices are averages from recent surveys and shop quotes. and installation. for this
- Automatic Transmission Unit (ATU): $2,200–$4,800. Includes a full‑size ATU, torque converter, and necessary mounting hardware.
- Clutch and Pedal Assembly Removal: $350–$600. Labor to detach the clutch, replace the pedal assembly, and re‑route brake lines.
- Electronic Control Unit (ECU) & Transmission Control Module (TCM): $800–$1,500. Must be compatible with the new ATU and vehicle’s existing engine management system.
- Wiring Harness & Sensors: $400–$900. Custom harnesses or adapters to link the TCM to engine sensors and the driver’s interface.
- Transmission Mounts & Engine‑Mount Modifications: $250–$550. Adjustments to accommodate the ATU’s weight and torque characteristics.
- Fluid & Coolant: $120–$250. Includes transmission fluid, coolant, and any required lubricants.
- Labor (Shop Hours): 12–18 hours @ $80–$120/hr. Covers disassembly, installation, calibration, and testing.
- Quality Assurance & Diagnostics: $200–$400. Post‑installation diagnostics, software updates, and road‑test validation.
- Contingency (10% of Parts): $250–$500. Buffer for unforeseen parts or adjustments.
Total cost ranges $5,300–$10,400, depending on parts, labor, and local regulations. before approval. by
4.2 Reliability Outlook
Reliability hinges on the seamless integration of the automatic transmission with the existing drivetrain. A well‑executed conversion typically retains the original engine’s proven durability, while the new ATU introduces its own wear profile. Key reliability determinants include the quality of the torque converter, the precision of the gear synchronizers, and the robustness of the hydraulic system. Manufacturers of aftermarket ATUs often provide multi‑year warranties, but real‑world longevity depends on driving habits, maintenance schedules, and environmental conditions. Regular fluid changes—every 30,000 miles for the transmission and 60,000 miles for the engine—are essential to prevent sludge buildup and metal particle accumulation. The electronic control unit must be calibrated to the vehicle’s engine management system; any mismatch can trigger erratic shifting or increased wear. Additionally, the conversion may alter the vehicle’s weight distribution, potentially stressing the rear axle and suspension components. Proper alignment and torque specifications during installation mitigate these risks. Over the long term, owners report that conversions can match or even surpass the reliability of factory automatic setups, provided that the chosen ATU is sourced from a reputable supplier and installed by experienced technicians. This ensures seamless operation.
In addition, the conversion often requires re‑engineering the rear differential to handle altered torque. Upgrading it prevents premature wear and ensures long‑term reliability.
4.3 Regulatory Compliance
Converting a manual car to an automatic gearbox requires strict adherence to regulatory standards. The vehicle must first pass a technical inspection that confirms the integrity of the new transmission, the removal of the clutch, and any drivetrain alterations. In the U.S., the NHTSA and the state DMV mandate documentation of the powertrain change and a re‑inspection. In the EU, the WVTA system requires the conversion to meet the same safety and emission criteria as a factory‑equipped vehicle, often necessitating ECU recalibration to keep CO₂ emissions within class limits. The registration paperwork must be updated to reflect the new drivetrain. Insurance companies typically demand proof of compliance before adjusting coverage, as the risk profile shifts. Additionally, the conversion must follow the manufacturer’s technical service bulletins for torque specifications and electronic control module settings. Failure to meet these directives can lead to non‑conformity findings during final road‑worthiness checks, delaying the vehicle’s return to service. Proper documentation of every step, from part procurement to final alignment, is essential for legal and resale purposes. Finally, the installer should verify that the correct transmission fluid type and capacity are used, as improper fluid can compromise shift quality and accelerate wear, jeopardizing compliance with safety and emission regulations. Compliance documentation should be stored in both digital and hard‑copy formats to facilitate future inspections and resale transactions.!!!